Filter
Reset
Sort ByRelevance
Amydoll
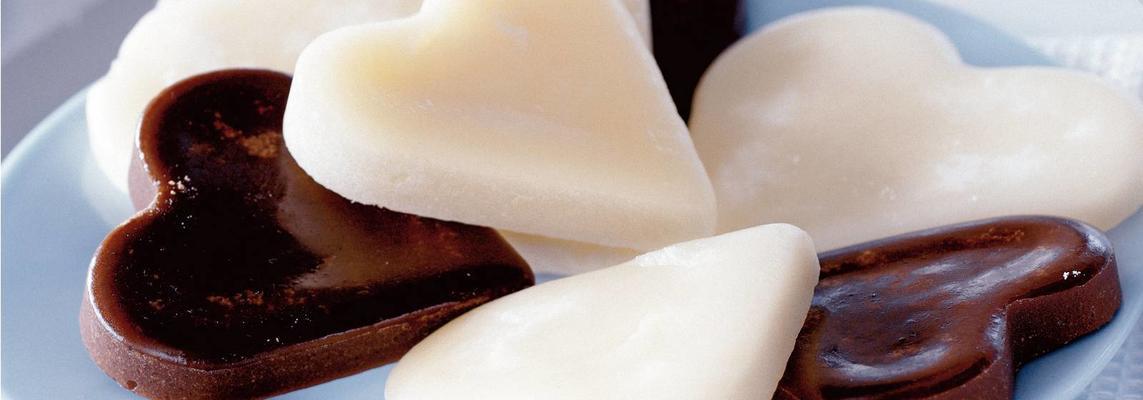
Breastplate step-by-step
Make your own breast plate, step by step.
Share
Tweet
Pin
Whatsapp
Print
Ingredients
Directions
-
Place a sheet of parchment paper on the worktop or a heat-resistant cutting board and place small shapes on top. Grease the molds.
-
In a pan with a thick bottom, heat the sugar with the whipped cream and water on low heat. Stir continuously with a ladle.
-
Let the melted sugar simmer gently for 3-5 minutes while stirring.
-
Test with a ladle if the mass is good. This can be done in 2 ways. Method 1: last drop of sugar syrup that runs from ladle draws a thin thread.
-
Method 2: drop that falls into a cup of cold water immediately forms a hard ball.
-
Remove the pan directly from the fire and stir the sugar syrup continuously during cooling, otherwise the mass forms too coarse a structure.
-
When the mass begins to become cloudy and thicker, spread it at lightning speed over the greased molds (up to approx. 1/2 cm thick).
-
Allow the breast plate to cool for 10-15 min. Carefully lay the molds on their sides and allow to cool down further.
-
Put the molds flat again and allow to cool for another 10 minutes. Carefully remove the baking paper and remove the molds.
Blogs that might be interesting
-
 95 minPastriesunsalted butter, medium sized egg, fine cristalsugar, self-raising flour, orange, white glaze, red dye, yellow dye, soft pearls of silver,royal cupcakes
 -
 90 minPastriesraisins, white raisins, candied peel, self-raising flour, unsalted butter, white caster sugar, vanilla sugar, medium sized egg, powdered sugar,Christmas turban cake
 -
 cookies") 110 minPastrieswheat flour, fine cristalsugar, vanilla sugar, unsalted butter, medium sized egg, powdered sugar, tap water,glazed (Christmas) cookies
110 minPastrieswheat flour, fine cristalsugar, vanilla sugar, unsalted butter, medium sized egg, powdered sugar, tap water,glazed (Christmas) cookies -
 5 minPastriesprotein, powdered sugar,basic recipe glaze
Nutrition
210Calories
Sodium0% DV5mg
Fat8% DV5g
Protein70% DV35g
Carbs14% DV42g
Fiber0% DV0g
Loved it